ZFS File Server Hardware Refresh
I recently decided to indulge my inner geek by doing a hardware refresh on my home ZFS file server. The system had served me well since moving to ZFS from my previous system but there was room for improvement.
- ZFS is memory hungry and since this machine only had 4GB of RAM in it ZFS quickly hit the wall.
- I didn't know this at the time I built the system but the BIOS on the ASUS M2N32-SLI motherboard has the ECC memory function disabled by default. Last year when I opened the machine up to install a new SATA HBA I turned ECC on for the first time. The machine went to hell. Most of the time it wouldn't even POST and it was never able to successfully boot the OS. I don't know if it was related to the type of ECC RAM I had installed but ECC did not work for me on that board. This was a problem for me because best practice when using ZFS is to always use ECC memory if you want to take full advantage of ZFS's ability to detect data corruption.
- The system was now maxed out on hard drives. Even with the 5-in-3 drive enclosure I had installed, with the recent addition of three more drives (two for another mirrored set and one as a hot spare) every drive slot was now full.
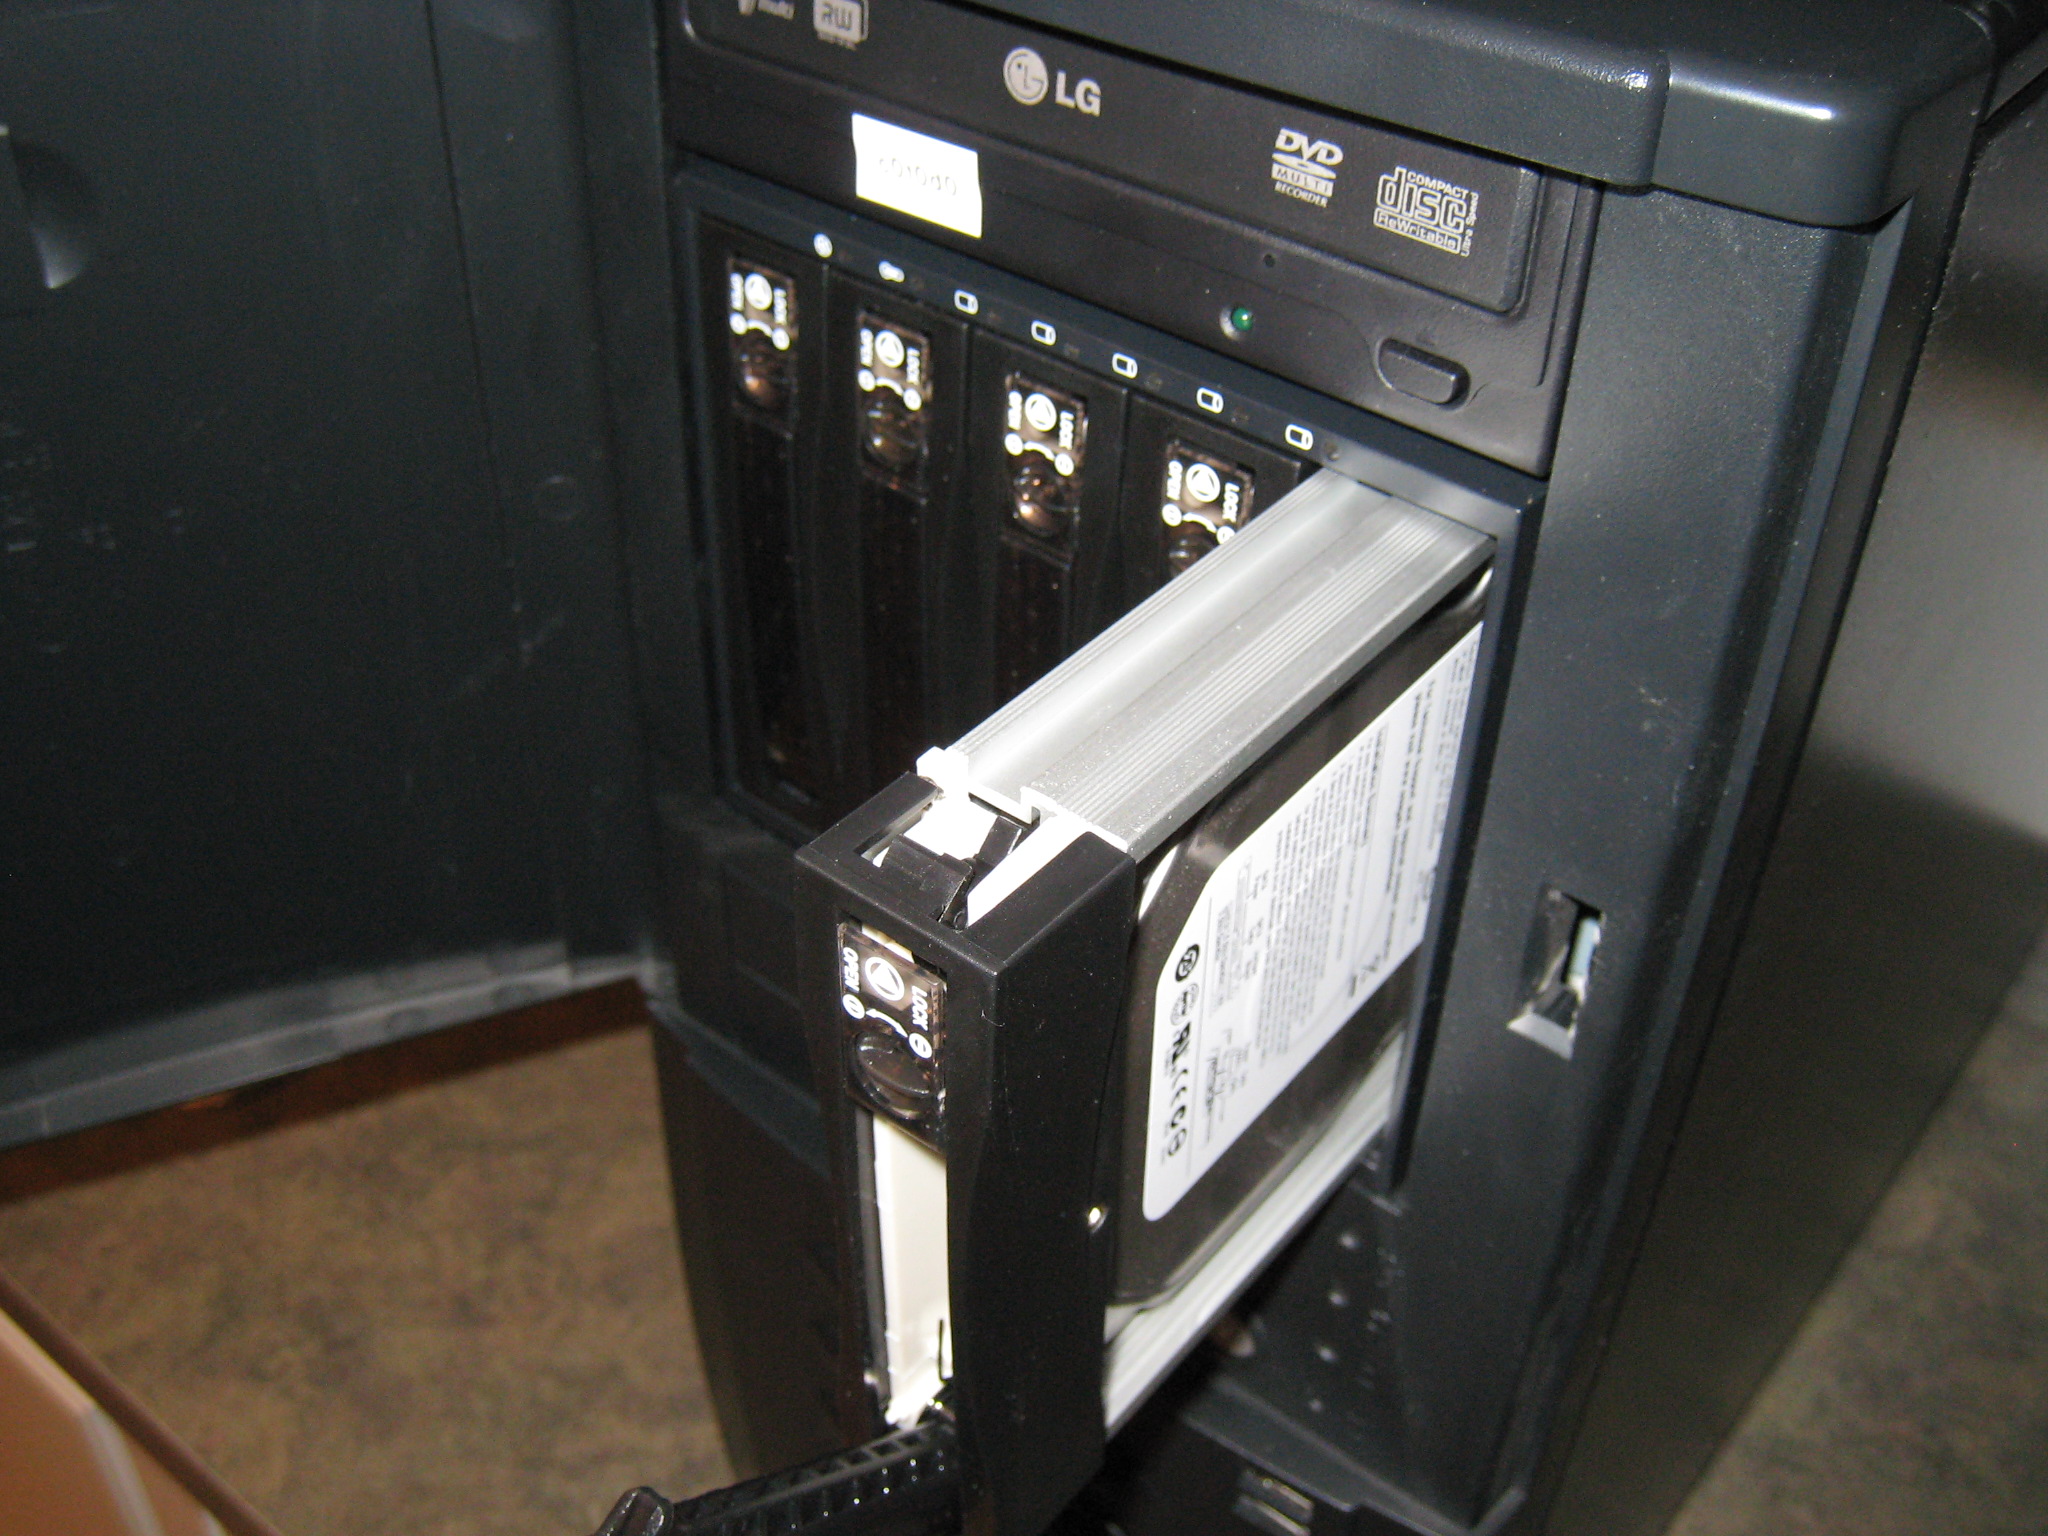
It addition to these small problems I also thought it would be nice if all the drives were installed in hot swap trays instead of some being in trays and some being stuck inside the computer case. Lastly, since I'm somewhat frugal and need to justify spending this kind of money even if only to myself, I decided to re-purpose the existing hardware by using it to upgrade my HTPC.
The Hardware List⌗
After doing quite a bit of research and playing around with pricing and quantities, I settled on this list of materials:
- Norco RPC-4220 rack mount chassis
- Supermicro X8STE motherboard
- Intel Xeon E5620 CPU
- 12GB (3x4GB) Kingston ECC Unbuffered DDR3 memory
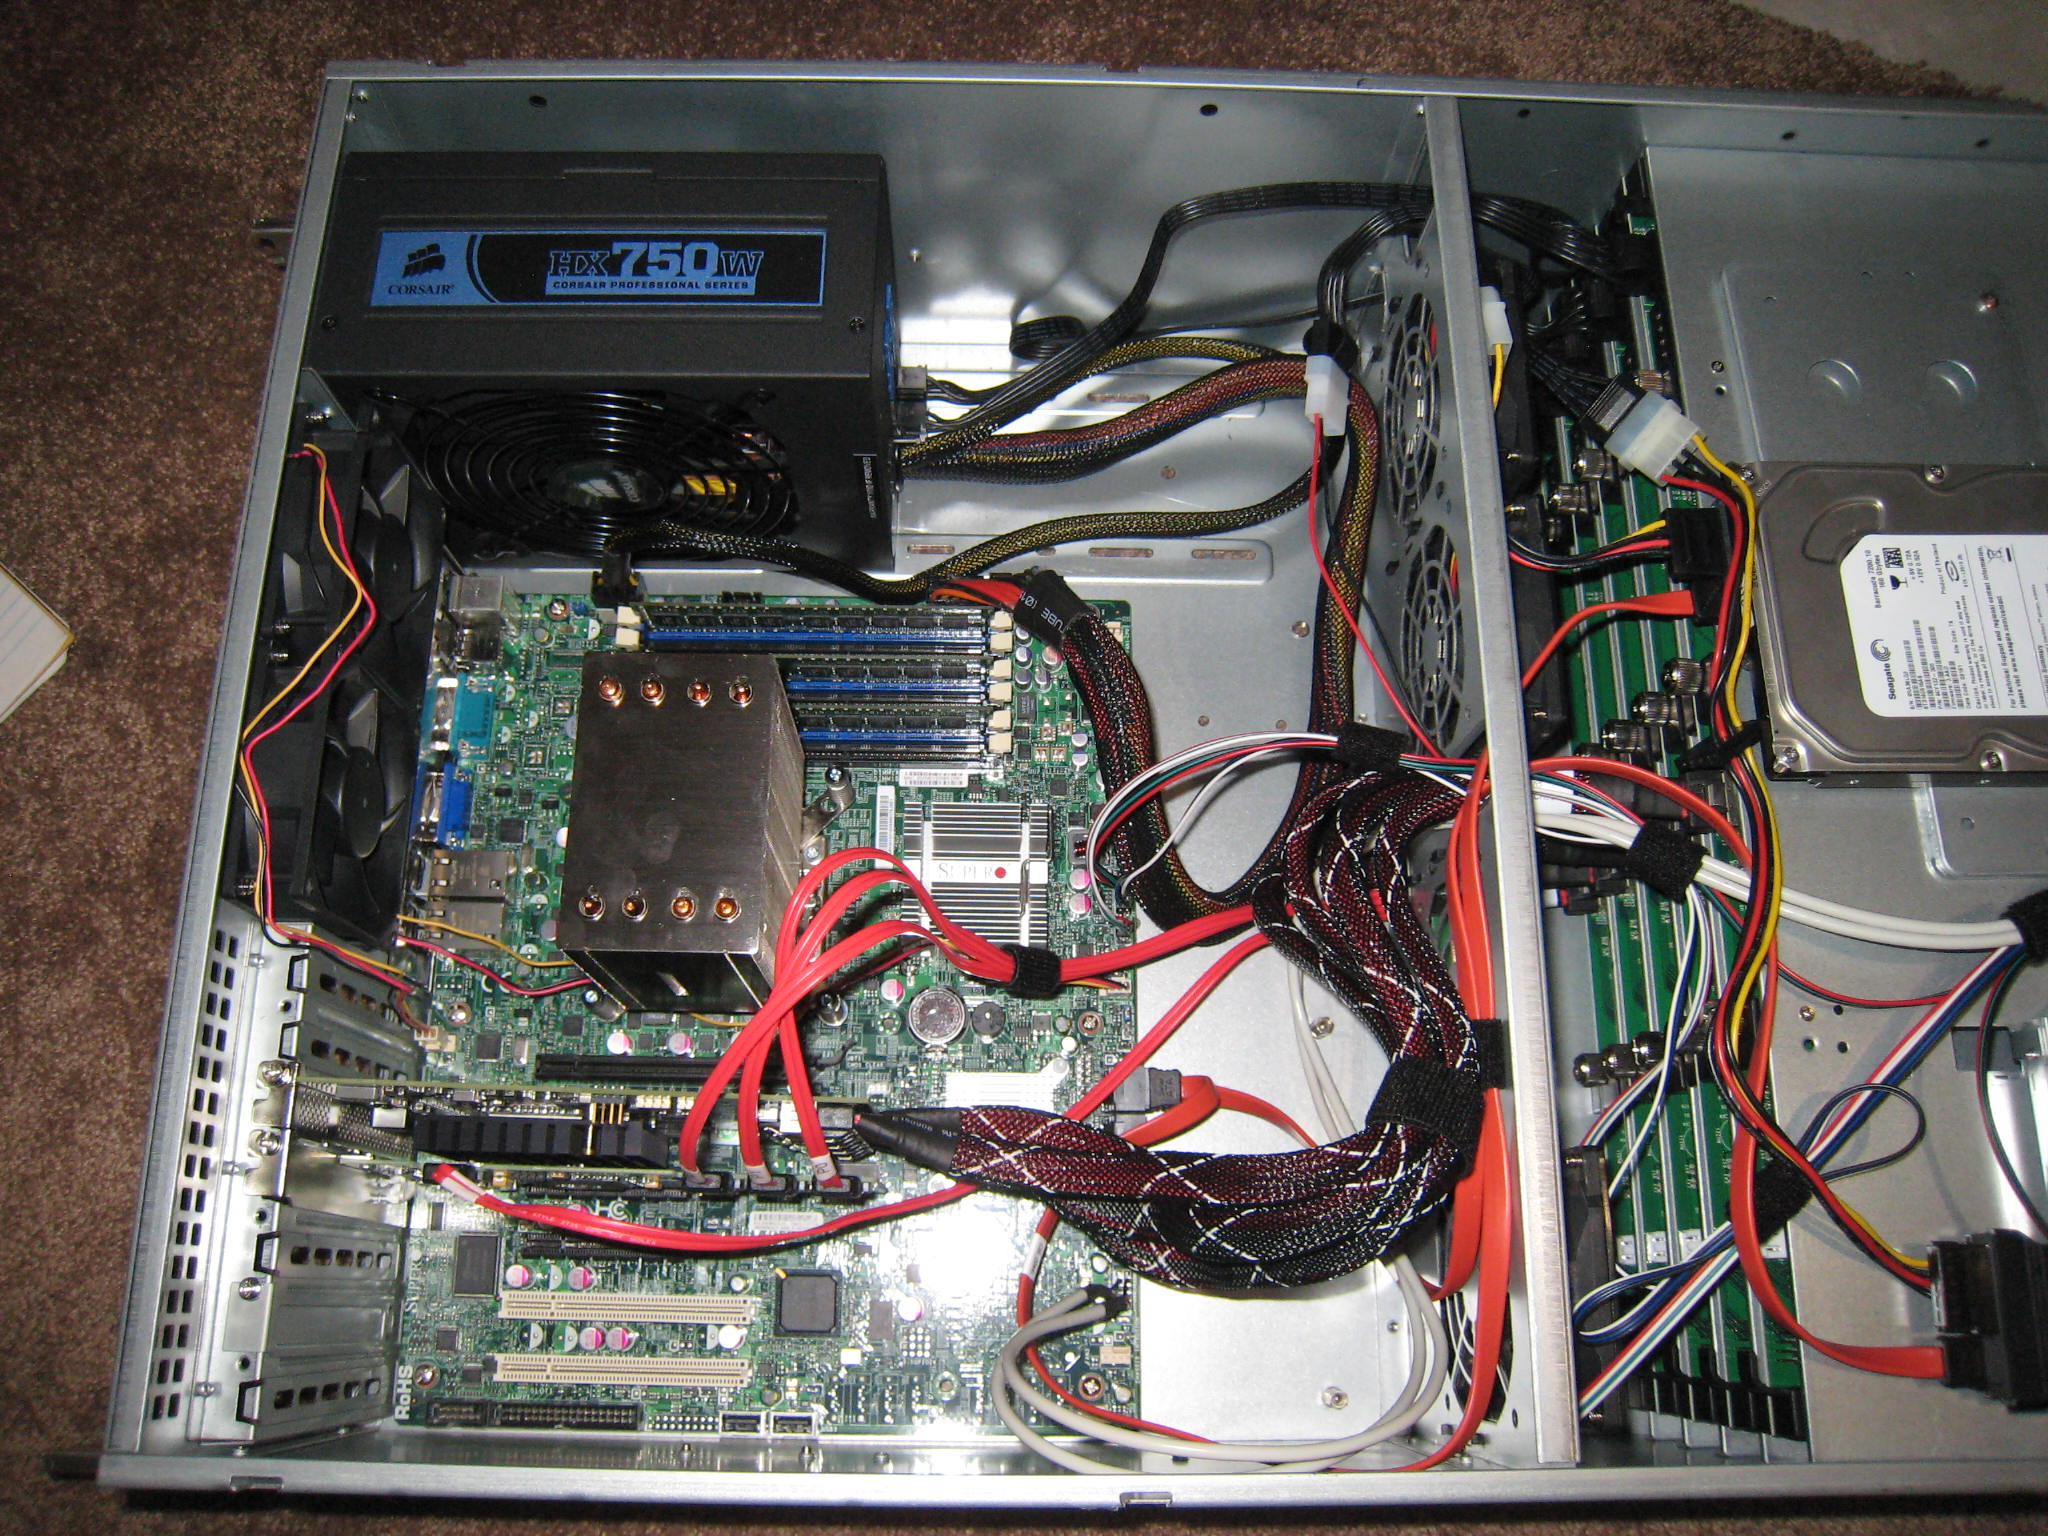
- Corsair HX 750W power supply
- LSI 9201-16i SAS/SATA HBA
One of the sites I was using for research was the Data Storage Systems forum at hardforum.com. The 4U Norco chassis are very popular amongst forum members due to the high number of drive bays and low cost. The Supermicro board seemed like a good fit for my needs with its on-board video and double on-board Intel NICs. It also has enough expansion slots to support my two HBAs with room to spare. The CPU is really overkill for this machine but at least in a year from now I won't be regretting having gotten something lower-end. Since the Xeon 56xx series support triple channel DDR3, I knew the memory kit should be triple channel too and since 4GB DIMMs are the largest the board supports, that made 12GB the automatic choice. To power all of this equipment plus the growth up to 21 hard drives (20 hot swap, 1 inside for the OS) I picked the Corsair HX 750W power supply after using a couple of online power supply load calculators and taking somewhat of an average reading from each. Most importantly this power supply has a single 12V rail capable of providing up to 62A which is important when the system is turned on and all the drives start spinning up. Lastly, the LSI 9201-16i has 16 internal SATA ports (no external) so when paired with the existing Intel SASWT4I 4 port card I had enough ports to be able to fully populate the Norco chassis.
The Upgrade⌗
The hardware side of the upgrade went smoothly. Just a matter of popping all the parts into the chassis, carefully connecting all the cables and then moving the drives out of the old case.
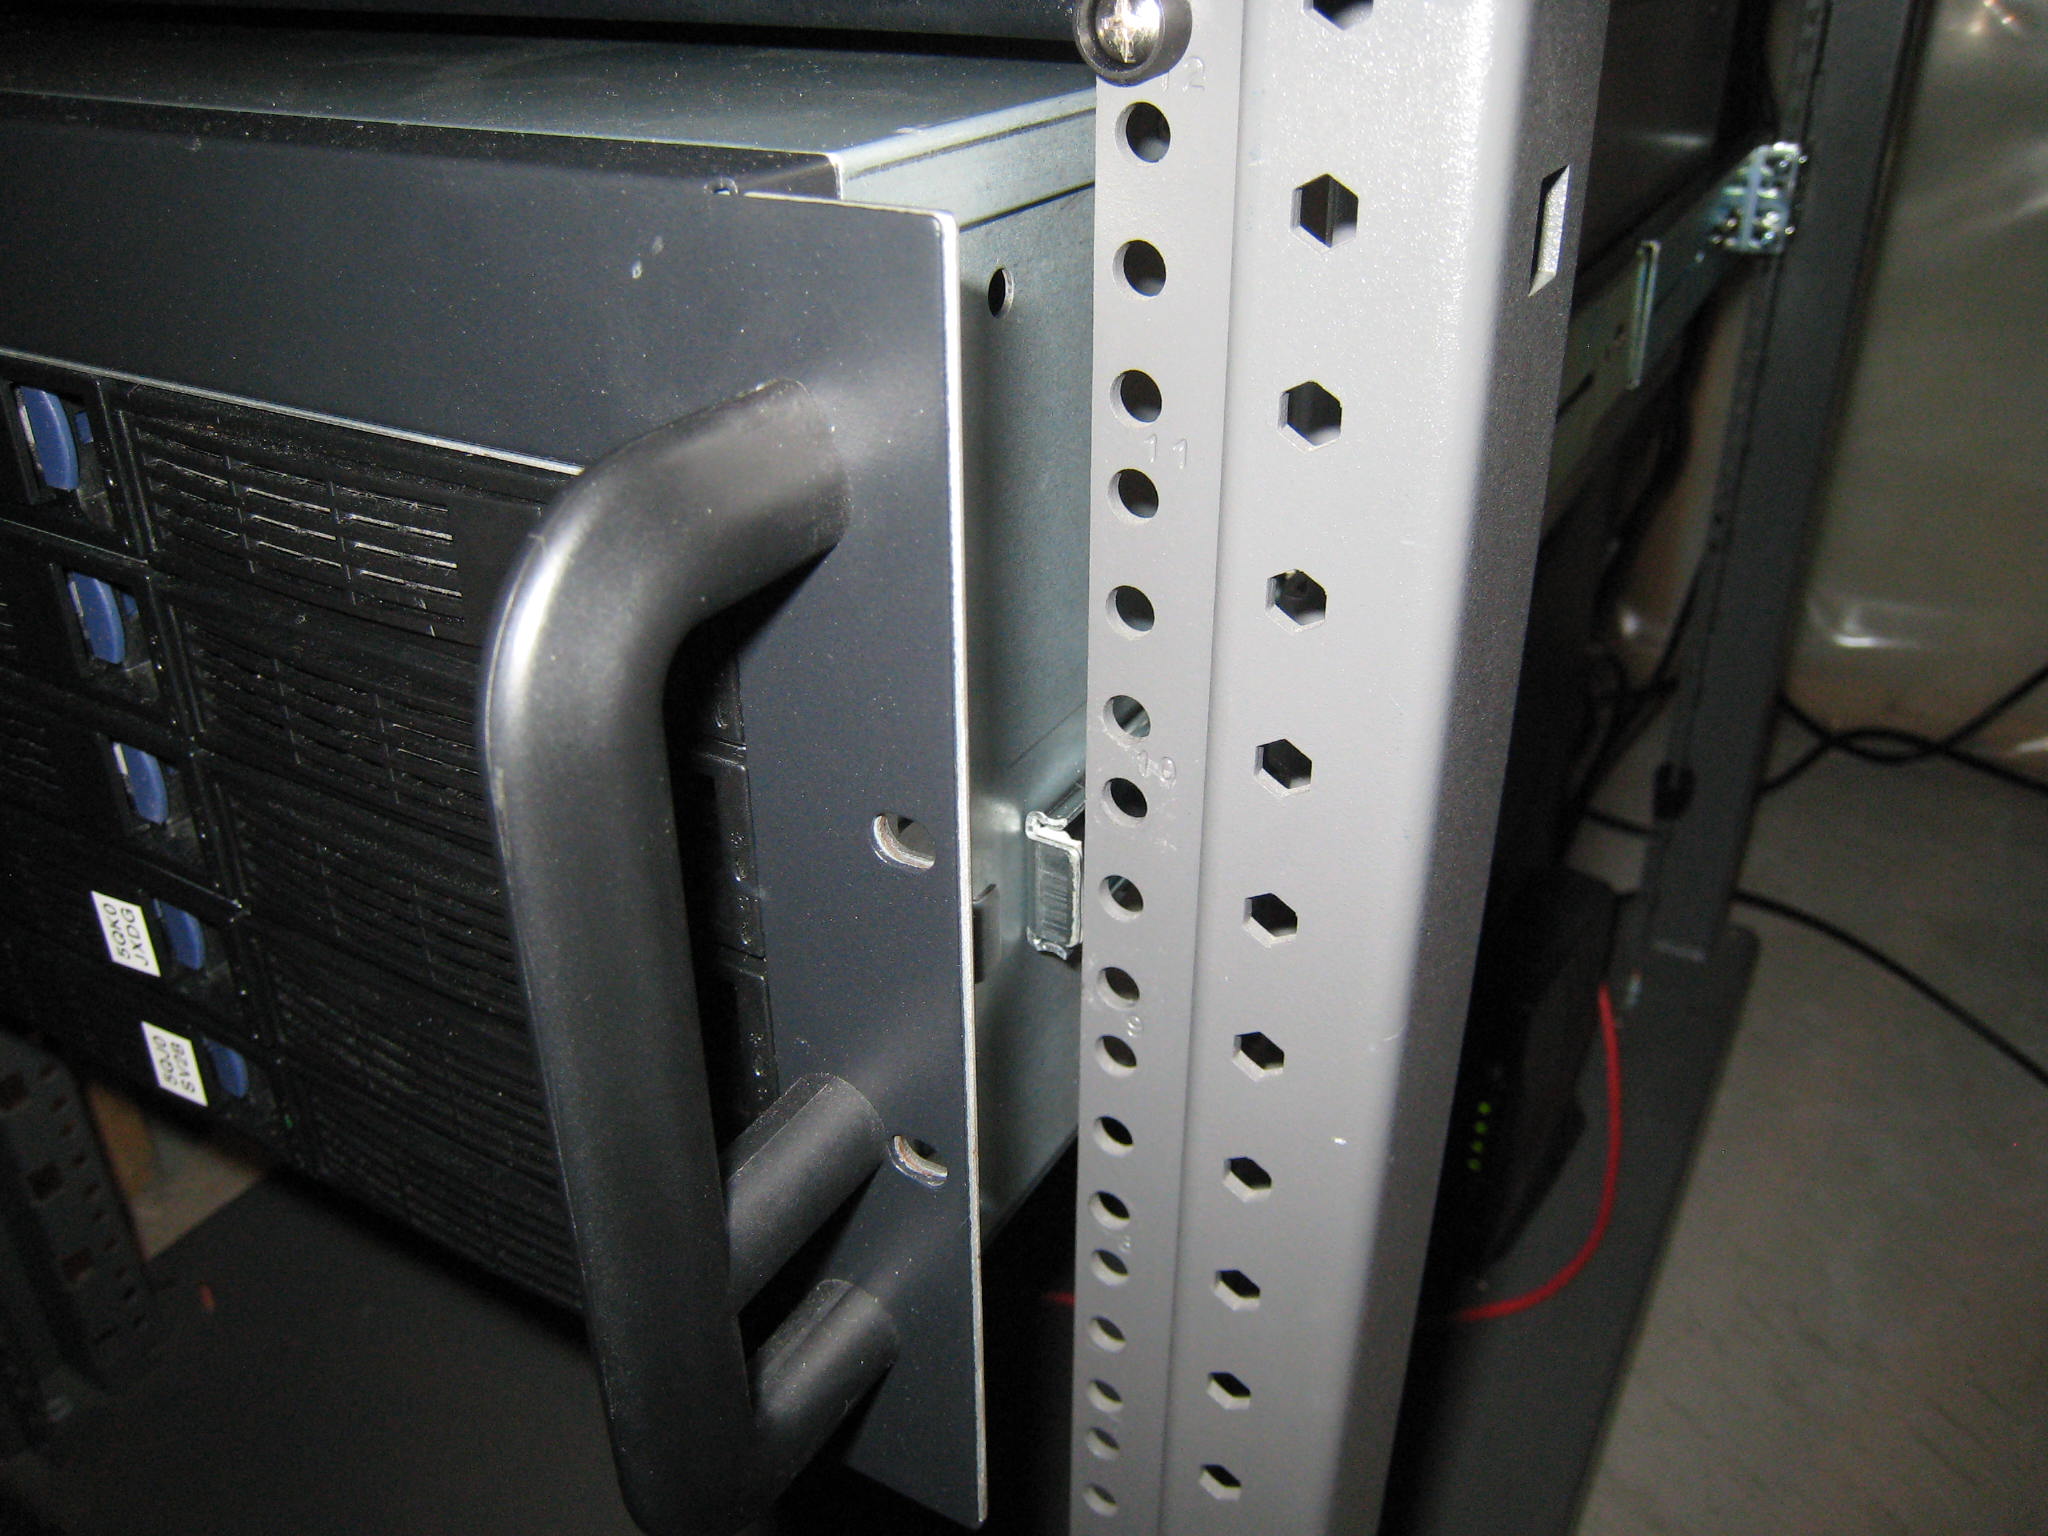
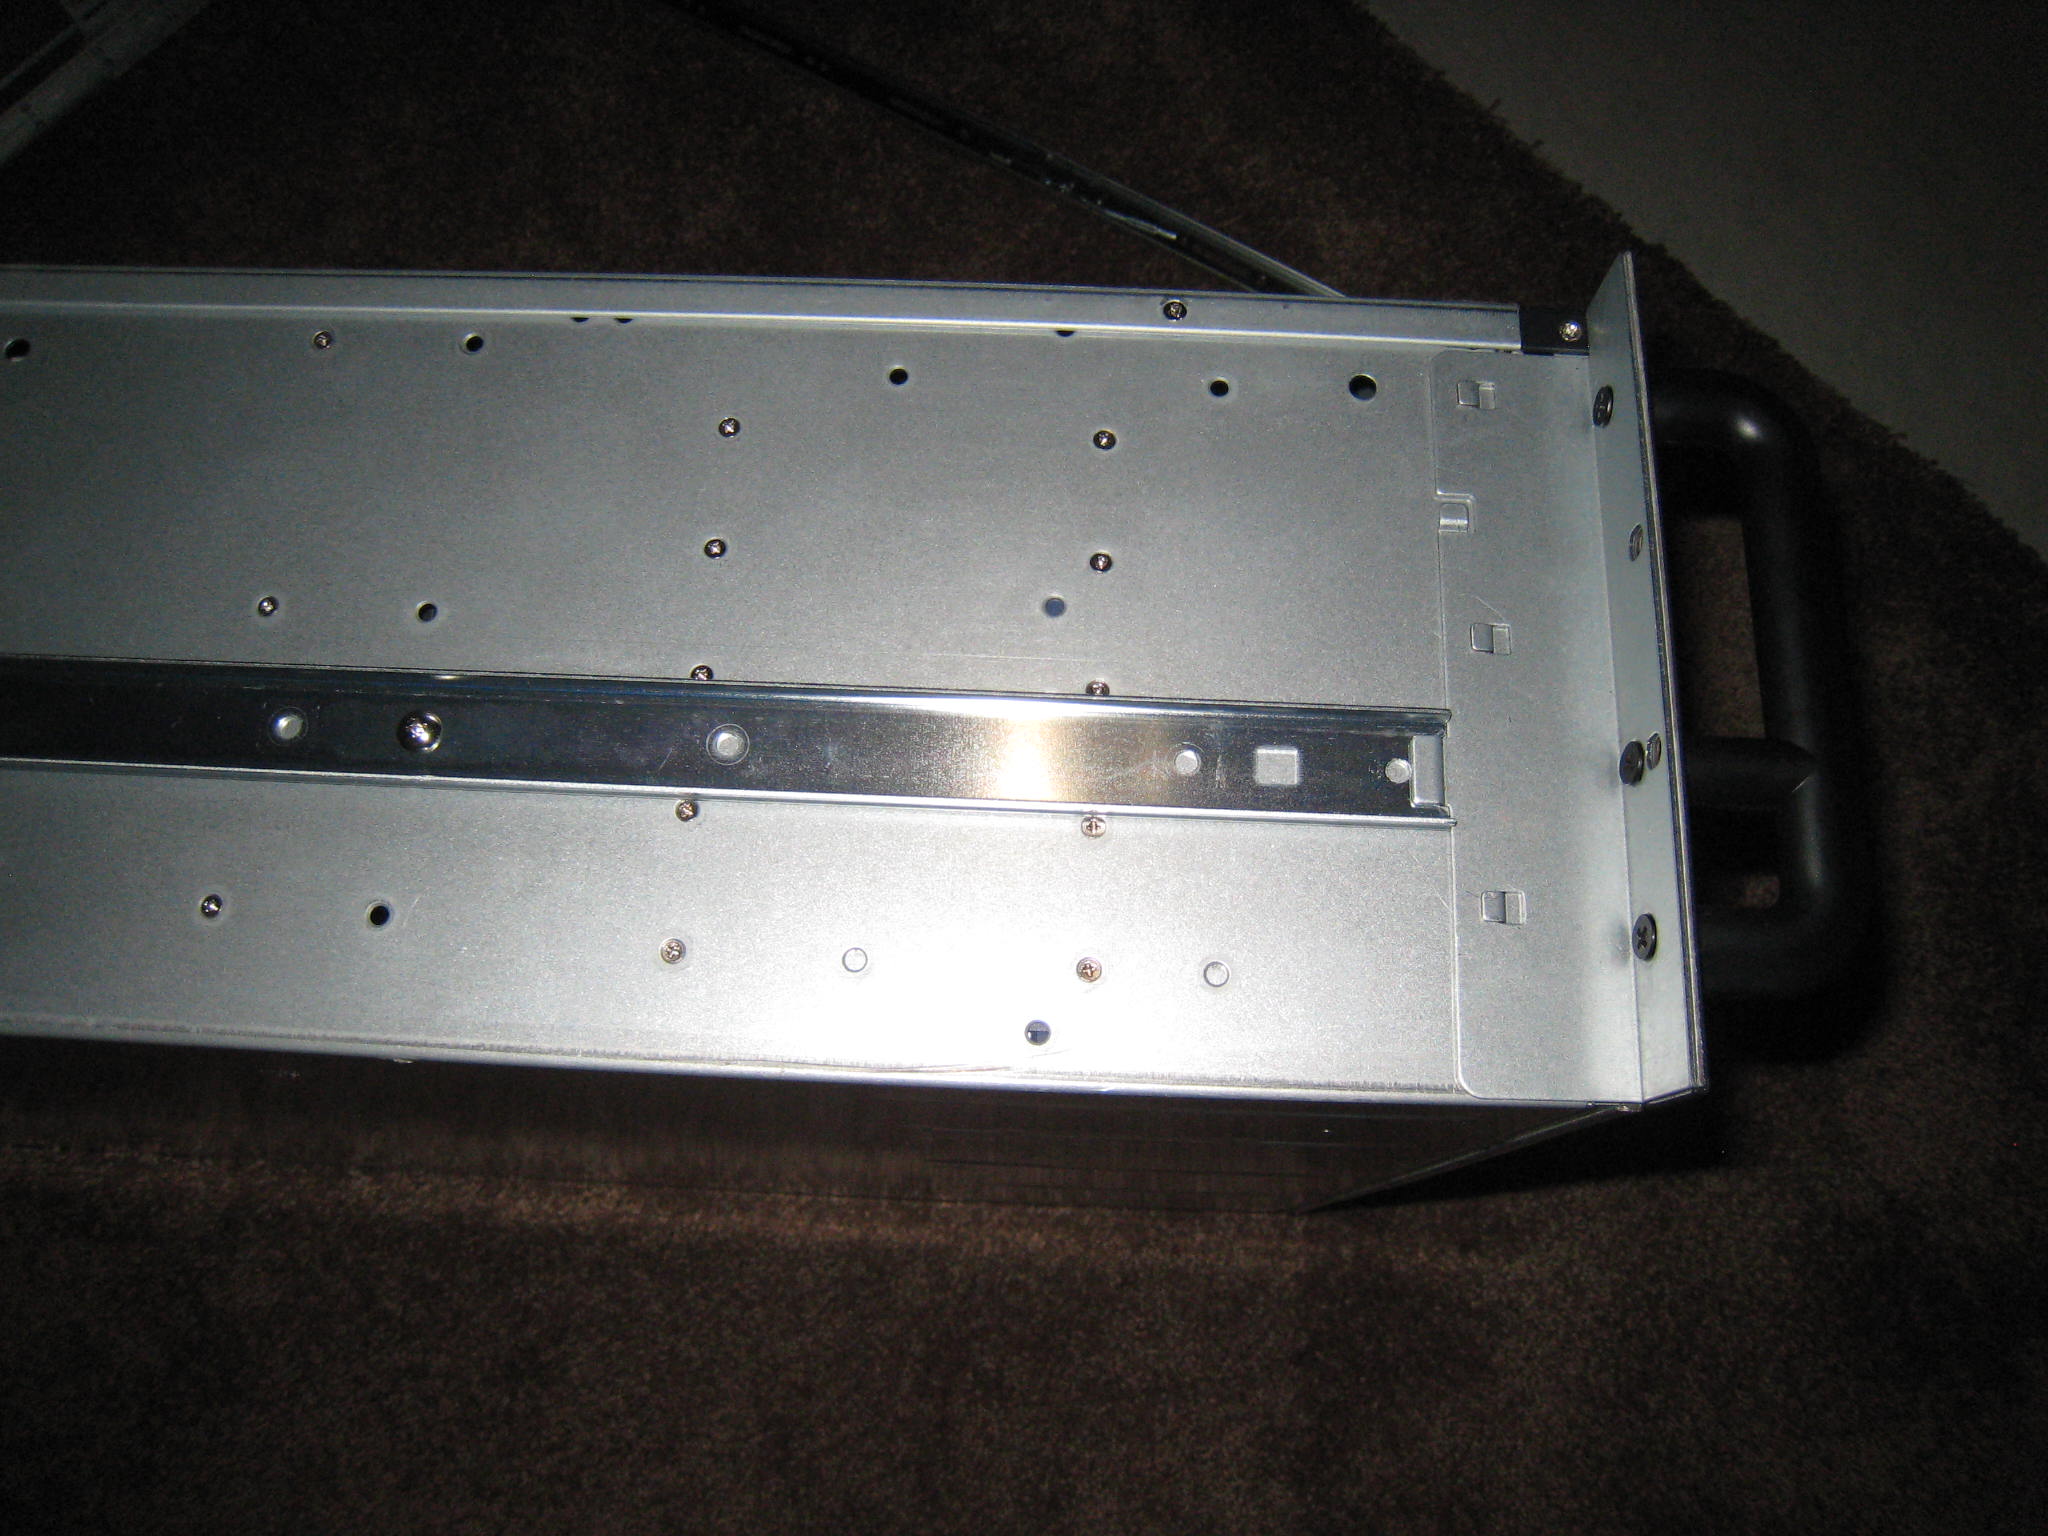
I didn't run into any issues with the hardware until I went to mount the chassis in the rack. I had ordered the Habey branded RL-26 rail kit (Habey is a brand that Norco operates under in North America) which is supposed to be compatible with the RPC-4220 chassis but the parts that attach to the side of the chassis do not meet up with the notches on the chassis. In addition, only a few screw holes line up between the chassis and the rail mounts so there's currently only a single screw holding the mounts onto the chassis at the front.
Secondly, when I mounted the sliders into the rack I found that the chassis would not fit into them because there was not enough clearance. After some experimentation I found that mounting the brackets to the side holes on the rack instead of the front resulted in a proper fit.
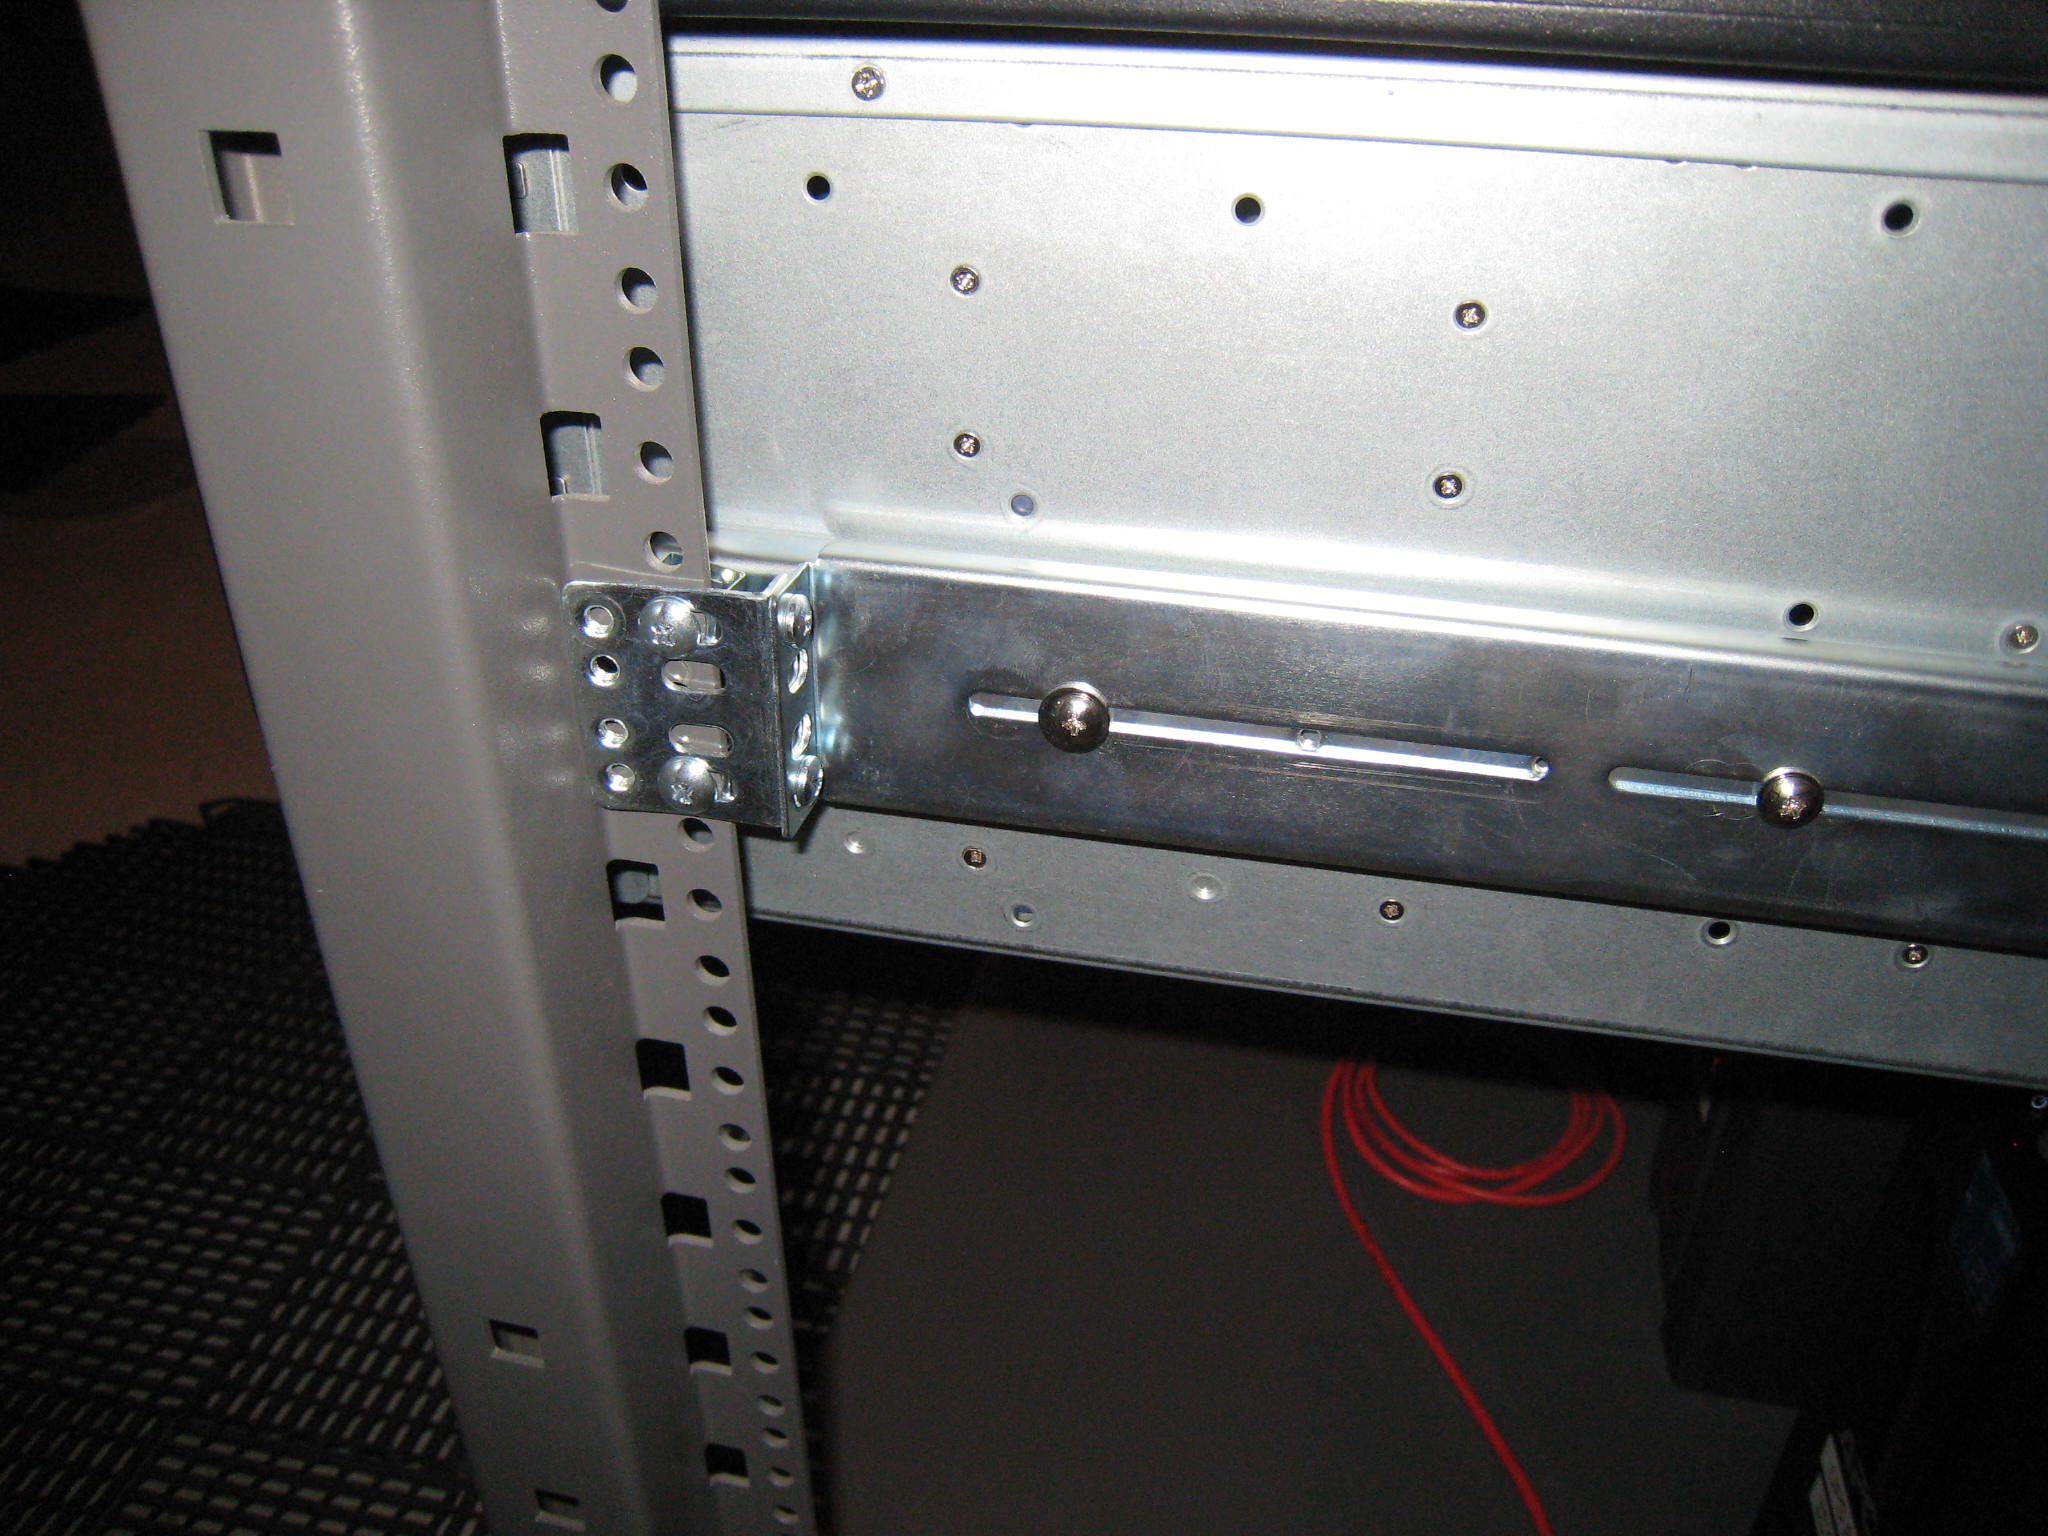
Update March 16 2011: I ordered a set of the Norco branded RL-26 rails. These rails fit my edition of the 4220 case perfectly, including the notch at the front.
Operating System Issues⌗
When I turned the newly upgraded system on I had a couple of operating system related issues to deal with.
I knew ahead of time that it was likely all the hard drive device paths would change. This would affect entries in vfstab(4) for the boot drive and also affect the ZFS pool. Before shutting down the system I did a "zpool export" on my pool with the intent of doing a "zpool import" once the system was upgraded. By exporting and then importing the pool I'm telling Solaris to a) forget about the pool the next time the system boots and not to try and mount any zfs file systems and b) to rescan all connected drives and look for the ones that belong to the pool by reading the meta data on each drive instead of relying on the device paths in /etc/zfs/zpool.cache. The zfs-discuss mailing list archive is full of example where people haven't followed these steps and then been surprised when their pools won't mount properly.
Updating the vfstab(4) file was a bit harder. I didn't know what the device path would be for the boot drive before shutting the system down; I would have to figure that out once the hardware was upgraded. To do this I used an OpenIndiana Live CD to boot the system and figure out the device paths. I then mounted my boot drive and edited /etc/vfstab with the new paths. Unfortunately getting the system to boot was a lot more involved than that. I'm actually going to write a separate blog entry about getting Solaris to boot after upgrading the motherboard. (Update March 16 2011: Booting Solaris After a Motherboard Upgrade)
Finally, after getting the system booting from the boot drive, I found that the version of the mpt_sas(7D) driver that's in Solaris Express Community Edition b129 does not support the LSI 9201 card I had. However, when I was booting the system using the OpenIndiana b148 live CD it was being recognized just fine. After digging around in /kernel/drv/amd64 directory (yes it's amd64 even on an Intel system) on the live CD I found the mpt_sas driver file. I moved the file over to the boot disk and then used the scanpci(1) command to find the PCI vendor and device IDs for the LSI card.
# scanpci | ggrep -B1 LSI
pci bus 0x0001 cardnum 0x00 function 0x00: vendor 0x1000 device 0x0056
 LSI Logic / Symbios Logic SAS1064ET PCI-Express Fusion-MPT SAS
--
pci bus 0x0003 cardnum 0x00 function 0x00: vendor 0x1000 device 0x0064
 LSI Logic / Symbios Logic SAS2116 PCI-Express Fusion-MPT SAS-2 [Meteor]
The second card in the output is the 9201 so I took the vendor and device IDs of 1000 and 64 and added them to the driver_aliases file.
# grep 1000,64 /etc/driver_aliases
mpt_sas "pci1000,64"
mpt_sas "pciex1000,64"
When the system boots, Solaris now loads the updated mpt_sas driver when it probes a PCI device with vendor/product ID of 1000/64.
Final Results⌗
The system is now up and stable on the new hardware. I'm very satisfied with the upgrade and the scalability it gives the system. Unless something blows up after I post this article, I would definitely recommend any of the hardware components I used here for anyone else building a similar type of system.